Saturday, 25 July 2020

Scenario 8: Melee

Another day, another hill. This is pretty much Scenario 4 only with staggered arrival of forces. As such I thought I'd give the same armies a go and see if fortunes would be reversed - except this time I added Machine Guns.


The objective must once more be held exclusively to get a win - usual stuff, game length is 15 turns max. or ends when both sides reach exhaustion point.
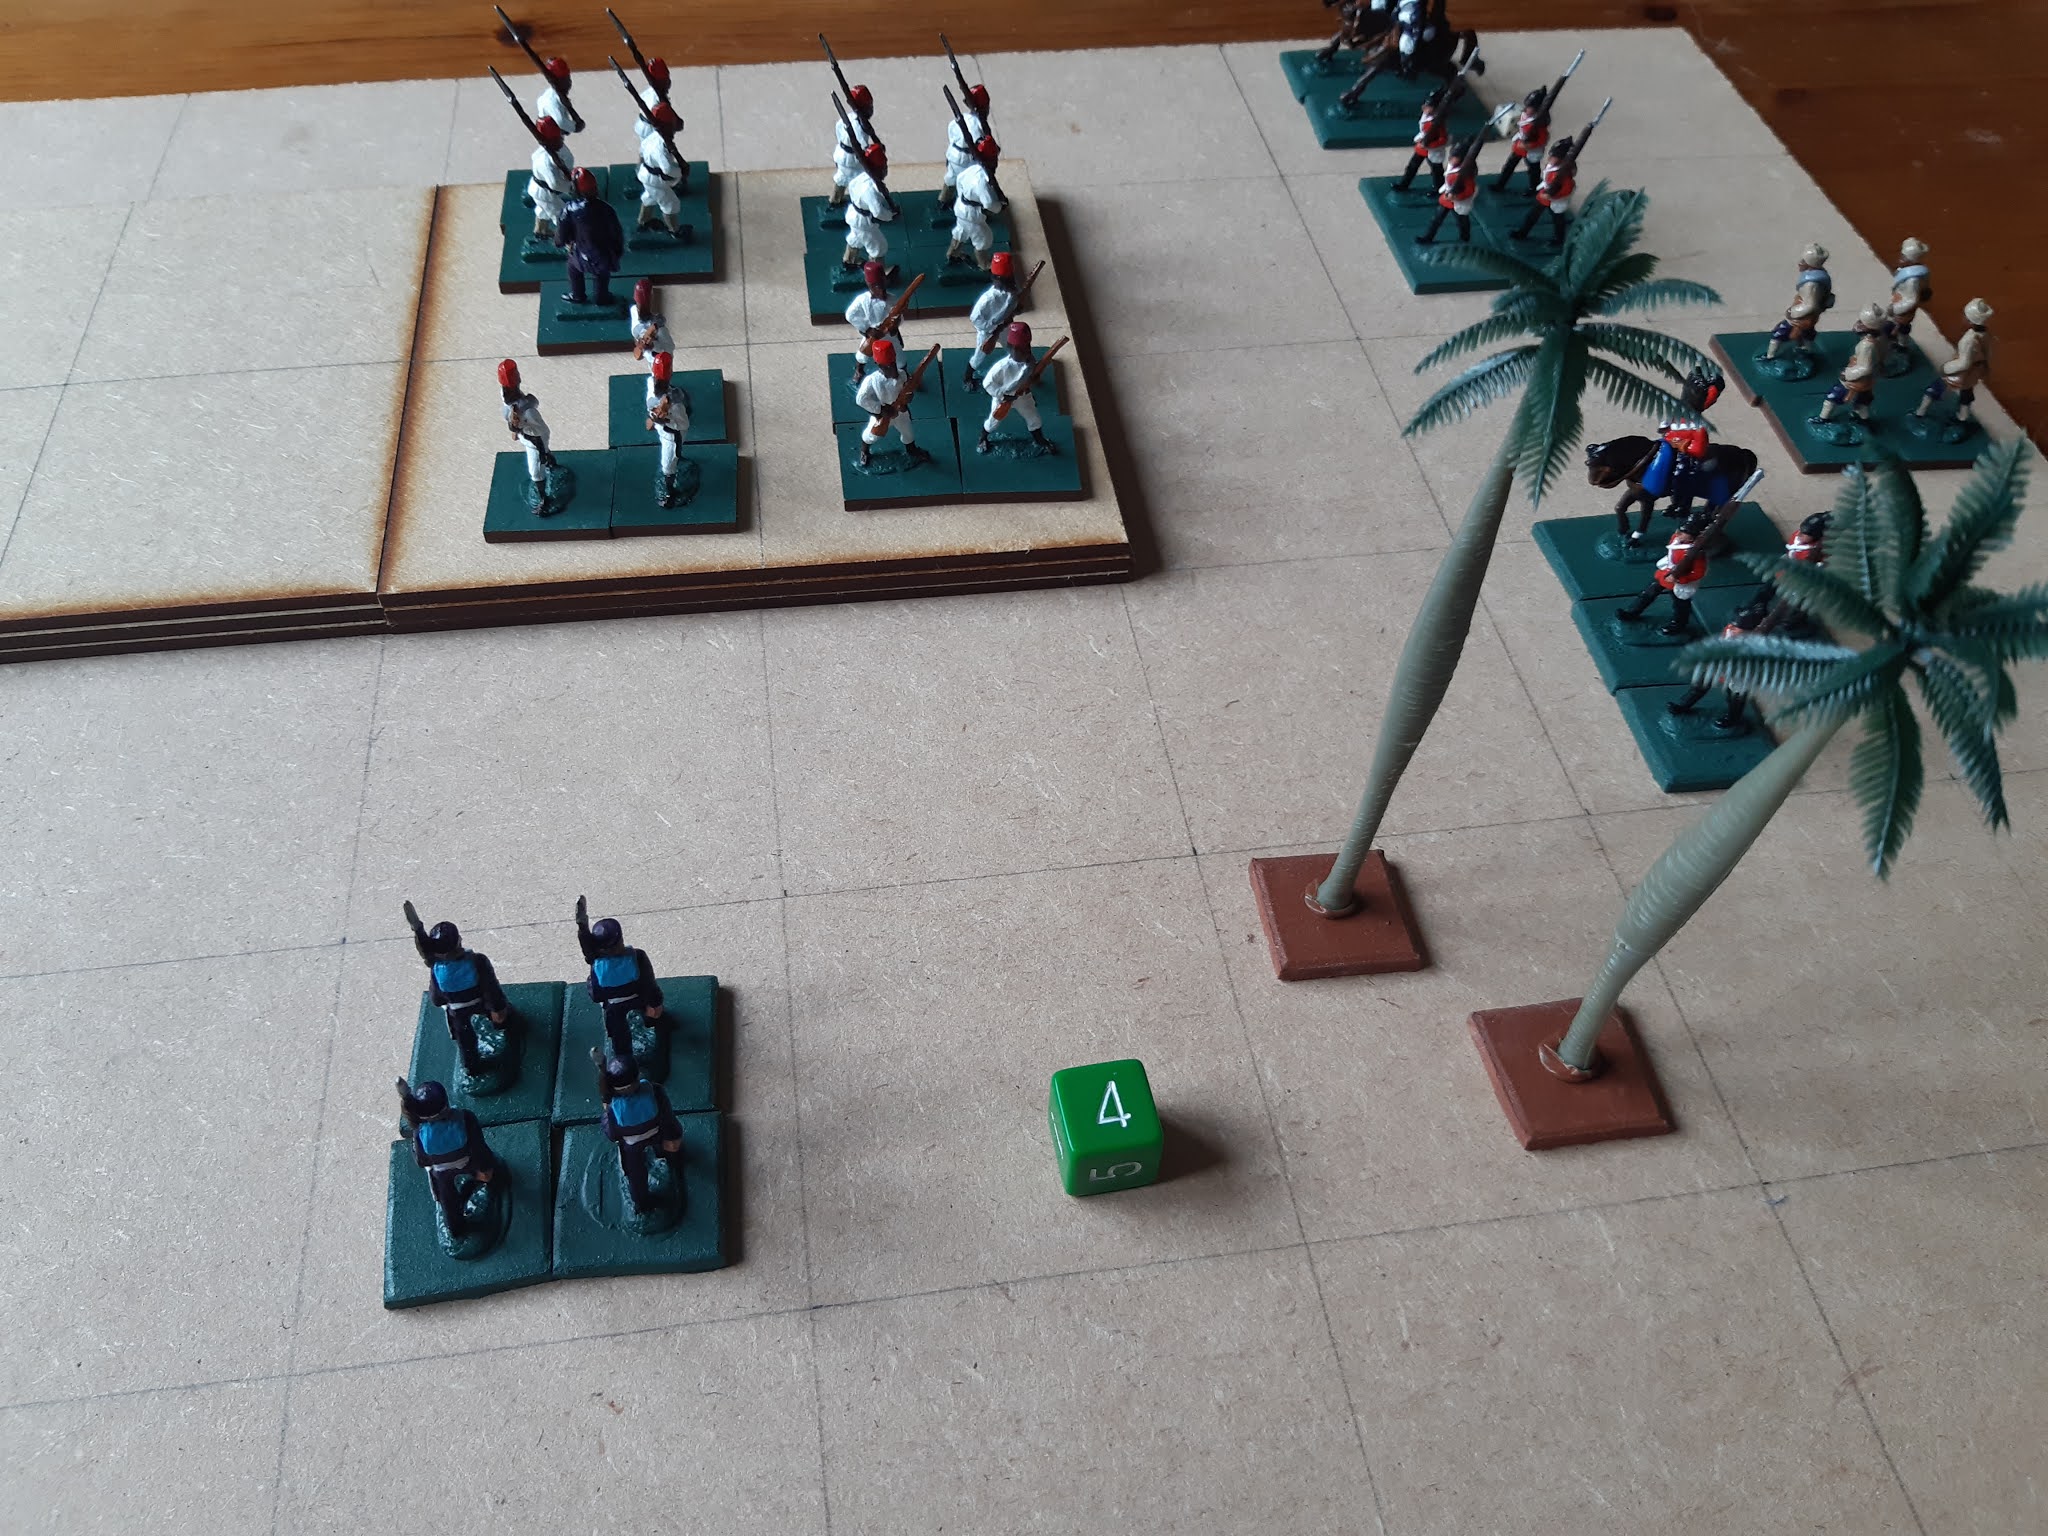
Quick reminder of the factions involved (as I usually forget) - The Tan coloured figures are soldiers of the Democratic Party of Free Uqbal (DPFU) and the Green are The Peoples Democratic Front (PDF) - both wish to establish their own one party "democratic" system in the former Albionian colony. 

PDF men on the hill with no cover to speak of

DPFU begin to arrive

and the attack starts

More PDF troops are arriving

The PDF machine gun on the hill starts to reap its deadly harvest 

before being neutralized (with extreme prejudice) by the DPFU armoured car

A change of perspective (for the second reel)

The PDF are falling back under the relentless fire of the attacking force

Sensing victory the DPFU commander sends his men in up close & personal

In the mean time there has been (almost inevitably) an almighty duel between the armoured car and Bazooka Joe on the opposite flank.
 
The armoured car is destroyed just as the attack falters and the DPFU reach EP

The DPFU machine gun brings the PDF to EP but the battle is lost 

Both factions have since ordered some heavier weapons from the same unscrupulous Super Power in the hope of breaking the deadlock.

Thursday, 23 July 2020

Scenario 7: Flank Attack (2)

(Working Title - Colonel Deering's Bad Day Out)

A game in which defeat was plucked from the blood-soaked jaws of victory... again.


The Situation

An Uqbali brigade had strayed into Albionian territory and been pursued back to the border. They have taken up a defensive position on a hill, facing the direction in which the enemy should be coming. Attempting to emulate Frederick the Great, no less, the Albionian Commander, one Colonel Deering, puts his cunning plan into action. He positions  a third of his force on a small hill facing the enemy whilst moving the rest to their left flank..

To win, the attackers must have exclusive possession of the large hill by Turn 15 or when both sides reach Exhaustion Point (EP).

The trap is sprung

The defenders start taking casualties

The Uqbali cavalry are sent to silence those guns

The attackers close in

The Uqbali Cavalry pay a heavy price attacking the Naval guns

The defenders are at EP and must now hold their ground


Halfway through the battle and things look bad for the defence

It's at this point that Deering realizes that his own force is also nearing EP

He must quickly get boots (or hooves even) on the hill

Last chance to finish off the remaining enemy...

...fails on turn 13. The battle is over.

Footnote: The Uqbali cavalry valiantly silenced the Naval guns in time to be frozen by their force reaching EP. Colonel Deering went on to train new officers at the Military Academy and later became a Cabinet Minister. 

Tuesday, 21 July 2020

Scenario 6: Flank Attack (1)

I've played this game twice in the last few days, but only because in the first game my mastery of the Art of Wargaming led me to forget that "Army Blue" must "exit the table via the road".

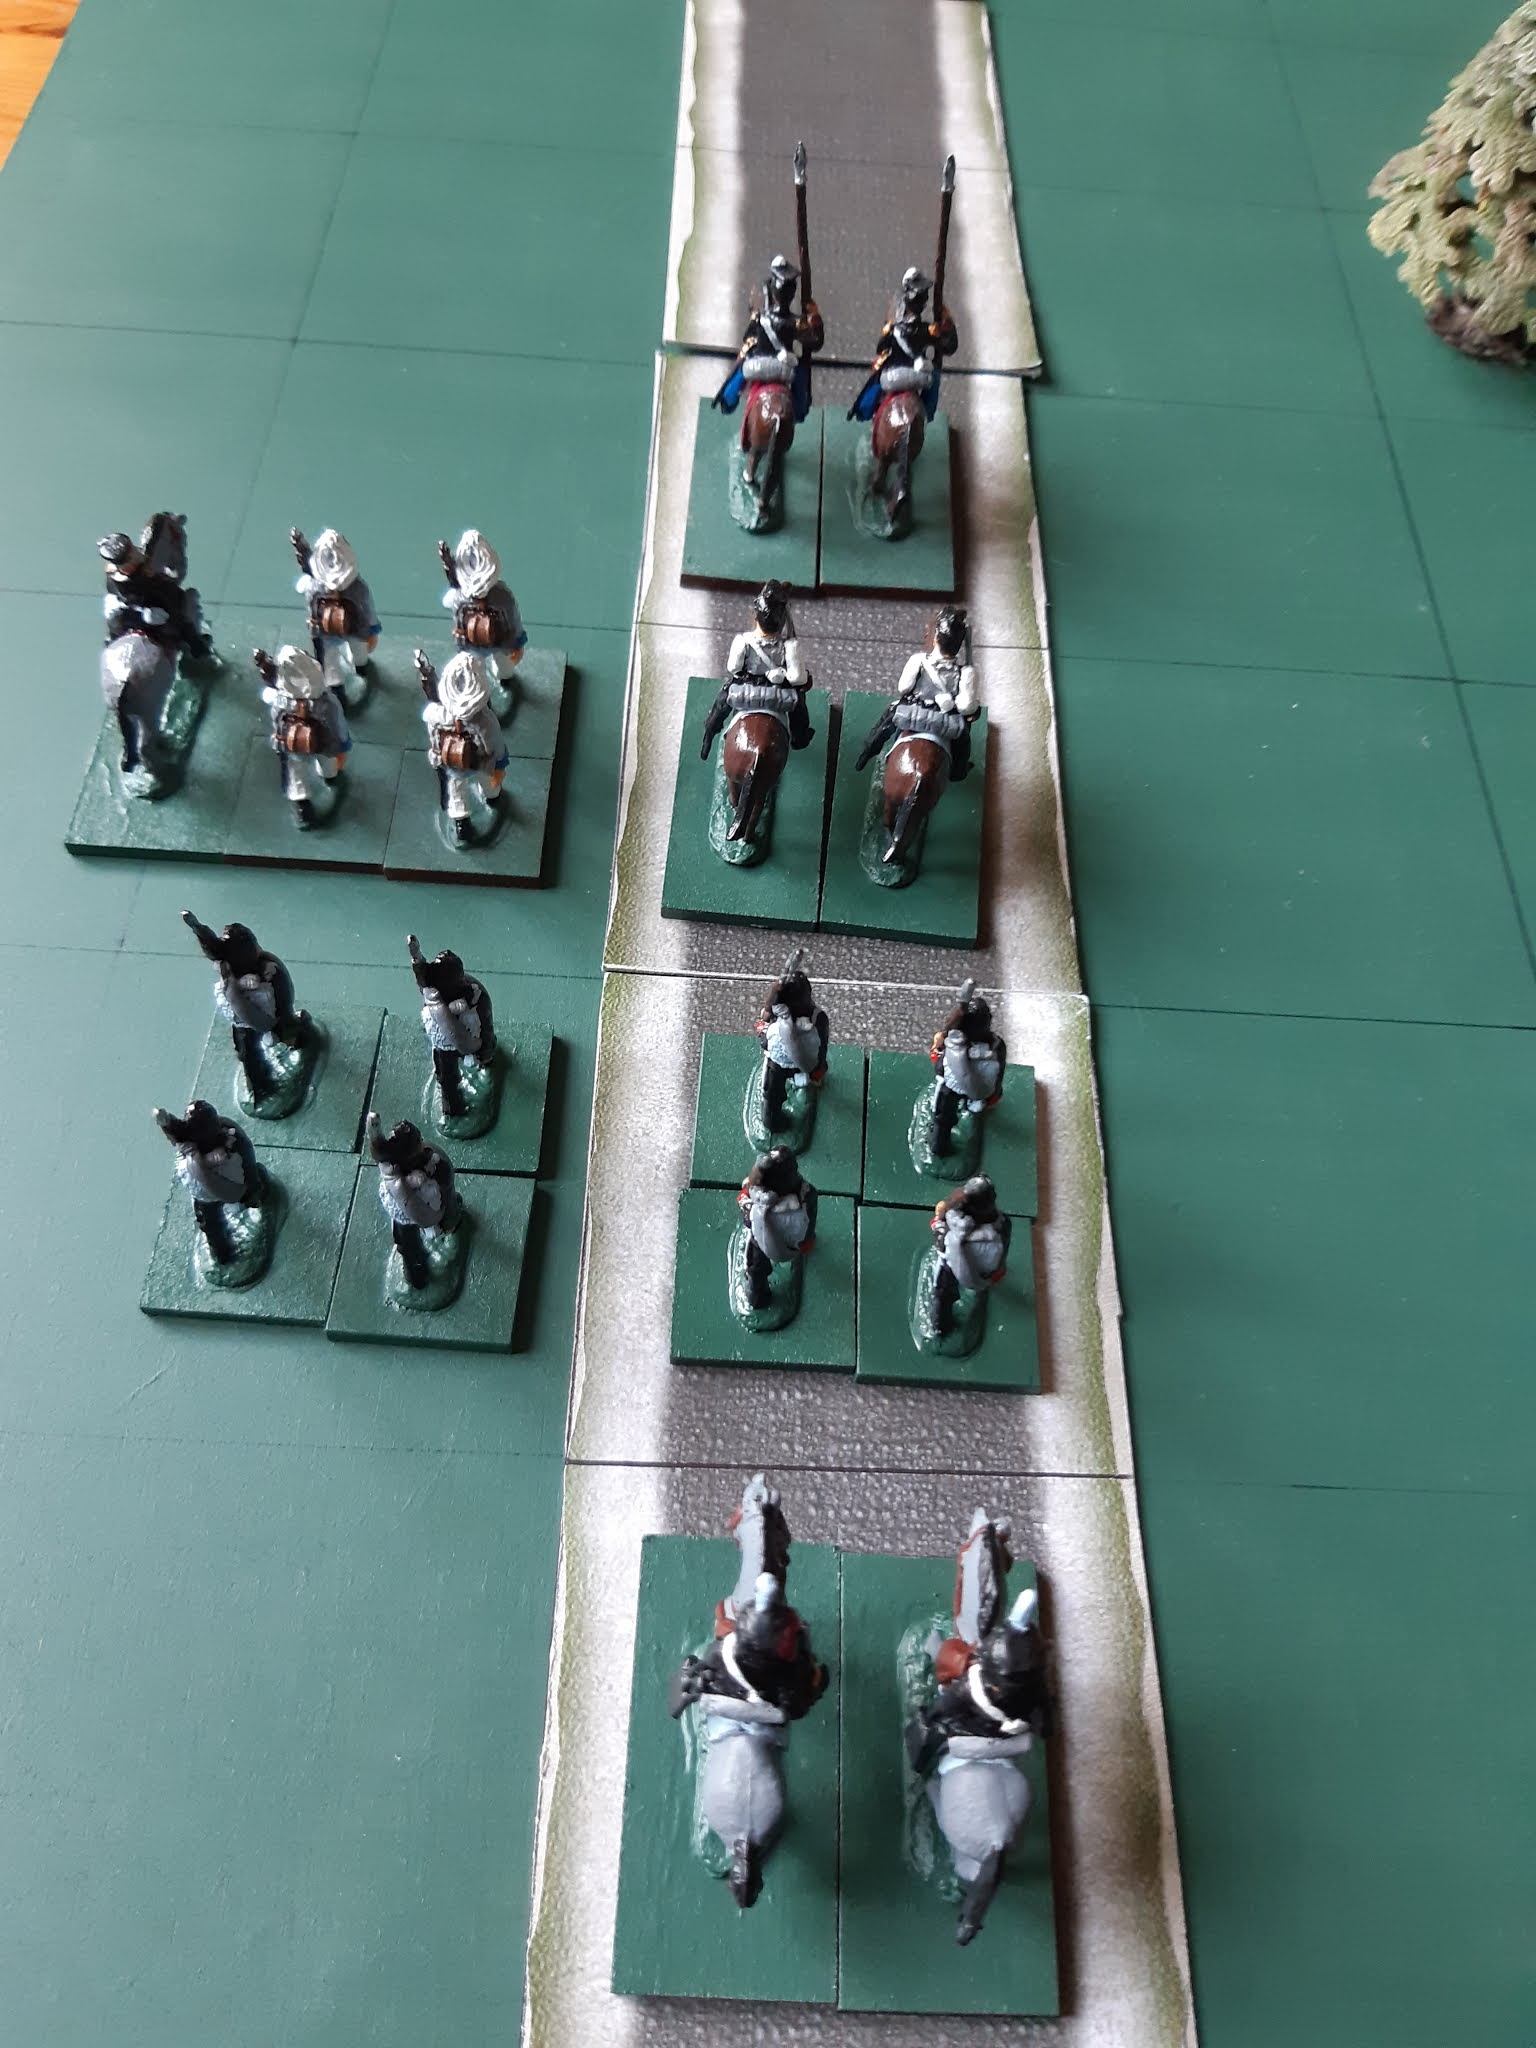
Army Blue in column heading for the exit point

Victory condition (in case you don't have the book) - "The Blue Army wins by having 3 units exit the table by the end of the game. Failure to do so results in a Red victory". In this case, the end of the game is either Turn 15, or (as I'm playing the Portable Wargame) when both sides have reached Exhaustion Point (EP).

The Army Red force blocking the exit point

Blue's Lancers charge. Red's force approaches to attack the flank

Cuirassiers arrive to help the Lancers clear the exit point

Casualties on both sides ramp up


Army Red reaches EP (Turn 5!!)

The remains of the Cuirassiers exit the table but Army Blue reaches EP

Technically, Army Red win as Army Blue cannot now move two more units off the table.
As it was only Turn 6 I played on to see if Blue could get any more troops off.


Two more turns and they did it, though they would only have got a handful of men away. 

A very messy action in which both sides rapidly lost troops to accurate fire and hand-to-hand fighting. The next game (Flank Attack 2) will probably prove to be a similar affair.

Thursday, 16 July 2020

Scenario 5: Bridgehead

For this scenario I have returned to the duel between the armies of General Wise (USA) and General Gilder (CSA) as they fight their way over Featherstone County...

The objective of the scenario is to complete the game with none of the enemy's forces within one grid area to the North of the bridge, thus establishing a bridgehead.

The CSA start with a unit North of the bridge
It is quickly engaged by Union Cavalry

Confederate Artillery arrives

Fierce hand to hand fighting


At Turn 12 the CSA is at Exhaustion Point but keep firing hopefully

but fail to dislodge the Union force who prevent the Bridgehead building

The inevitable log-jam ensued at the bridge; one day I'll try this game on a bigger battlefield!

Saturday, 11 July 2020

Scenario 4: Take the High Ground

For Scenario 4 I have dragged out my Army Men forces who represent opposing armies struggling to gain control in post-colonial Uqbal (my imaginary continent).  These were my son's Euro Shop figures from many years ago that would probably have been chucked away (horrors!). You may recognize a couple of my old vehicles. 
The Colonial forces have abandoned some vehicles which are being utilized in the power struggle between the Northern Uqbali people (Army Tan) and the Southerners (Army Green).
I was inspired to play a more "modern" game by a recent post on the Ragged Soldier blog run by David in Suffolk, a very nice WW2 action. I do own some WW2 figures and vehicles but haven't used them in years (another project perhaps!!).
This game was played using The Portable Wargame; Exhaustion Point (EP) was 30% casualties. Maximum number of turns was 15. The objective is to have exclusive control of the hill at turn 15 or when both sides reach EP.

T
he Assault on Hill 123
Two units of troops from The People's Democratic Front, or PDF (Green) are holding a strategic hill alongside the road to the Capital. At first light, a force from the opposing faction arrives...

Battle is joined


The Saracen begins to rake the hill with machine gun fire

Reinforcements have arrived 

The PDF have total control of the objective but are under pressure

Casualties start to mount

The Northerners bring up their reserve and hurl everything at the hill

The PDF (who reached EP at Turn 7) still cling on 

The Armored Car is destroyed by relentless recoilless rifle fire


The Northern force reach EP at Turn 12

Despite pouring fire onto the defenders, the attack on Hill 123 failed. A well timed bayonet charge could have at least gained a draw but the Northern Colonel was going for the win, and lost. A fun game to start the weekend!

Sunday, 5 July 2020

Scenario 3: Control The River

For this Scenario I used my Fantasy Variant of the Portable Wargame (original by Bob Cordery) and have been tweaking the rules slightly so ended up playing twice! A change I made to the scenario as published in OHW was to roll for initiative rather than allowing one side to always move first.

Back-story: In my 10mm Scale Generic Fantasy World, the Goblins are planning a large attack on the Elves. A Warband is sent out ahead of the main force to take and hold two bridges. The Elves are for warned (by the Eagles of course) and their border guards rush to stop the approaching Goblins. To win the game, a side must be in possession of both river crossings after 15 turns, or when both sides have reached Exhaustion Point EP (1/3 of army destroyed).

Game 1

In the first version of the game (played yesterday) the Goblins had the misfortune to encounter a very possessive Bridge Troll at one of the crossings who stood his ground and stopped them taking control of the right hand crossing. The Elves dominated the left hand crossing.


Game 2

I dispensed with the random events for the second version, however unusually good dice rolling made it a short game with high attrition on both sides.

Fast moving Elves are in the woods on the right

Losses on both sides

Accurate archery takes its toll on the Goblin "cavalry" (they're riding boars)

Goblins rush the bridge but sadly reach EP

The Elves reach EP at Turn 7


Neither side ended up holding both crossings after this bloody affair. The Goblins were being worn down faster so I'm giving it to the Elves. 

The Eagle has landed